Okay, I’m missing summer. We’ve had a good bout of snow lately and while the sledding has been fun, warm would be nice. So in honor of all the snow, here’s another flashback to summer post. Plum Jam. Cooked jams are not too difficult and a little bit of fruit can actually make more jam than you might think. And one of the best parts about making jam is that you can make “variations on the theme” jams that you’ll never find in a store, like cherry-strawberry or plum-pineapple or peach-jalepeno (hubby’s personal favorite). So in this post we’ll talk about making jam from plums, but the general process applies to making cooked jam out of almost any fruit.
I’m using the recipe out of the MCP pectin box, other recipes may vary on ingredient amounts. You’ll need:
plums (5 3/4 cups chopped)
sugar (8 1/2 cups)
lemon juice (1/2 cup)
pectin (I like MCP, but any boxed pectin works)
jars (pint or half pint are good)
lids and rings
water bath canner
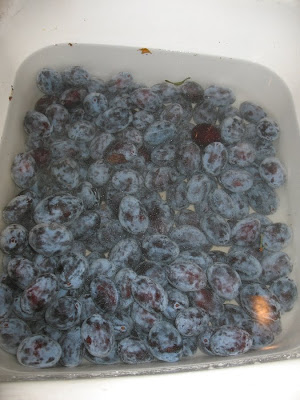
Step 1: Wash your plums. I got these plums from a friend who got them from a friend of hers who had too many on their tree, but then my friend picked too many of those so I got a box of them. They’re kind of funny looking plums–not the kind you get in the store. They are harder, very purple/blue on the outside, very green on the inside, and kind of oblong shaped. Any plums work.
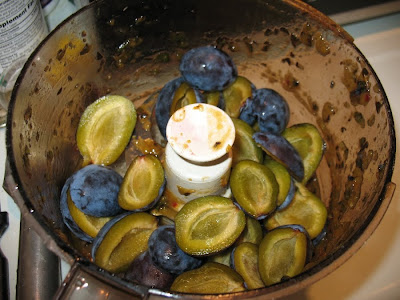
Step 2: Pit and chop the plums. Cut the plums in half to get the pits out. I used my scary food processor to do the chopping.
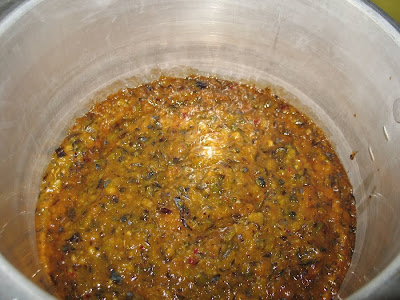
Step 3: Put the chopped plums in a pot with the lemon juice and heat it up. Doesn’t look very “plum” colored does it? As you heat, the color bleeds from the skins and it all turns a nice plum color. About this time is also good to get your water in your canner and start heating that up. You’ll also want to put all your lids in a little pot of water and heat them up a little.
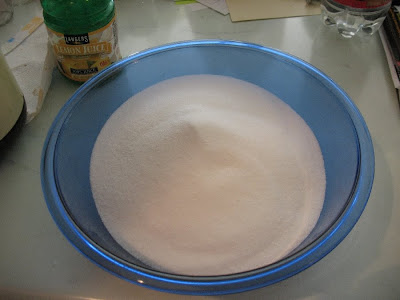
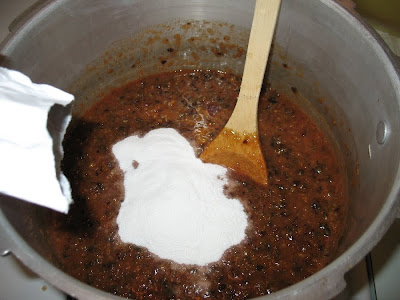
Step 4: In a separate bowl, measure all the sugar.
Step 5: Once the sugar is ready, add the pectin to the pot of hot fruit and mix it in. Don’t add the sugar yet. You can also add just a dab of butter or margarine to the pot (about 1/2 tsp.) This will reduce the foaming that happens when you cook the jam and make a better looking jam. Why it works, I do not know. Canning magic.
Step 6: Bring the fruit mixture to a full rolling boil on high heat, stirring constantly (this is why you want your sugar already measured).
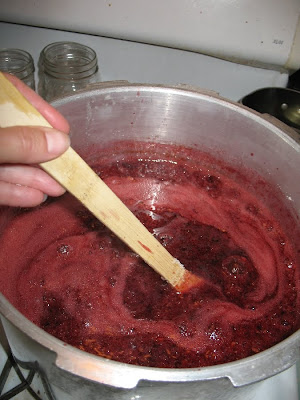
Step 7: Once the mixture is boiling, stir in the sugar all at once and return to a full rolling boil. Once you hit the full rolling boil, start your timer and let it boil for 4 minutes. See? Nicely plum colored now. :)
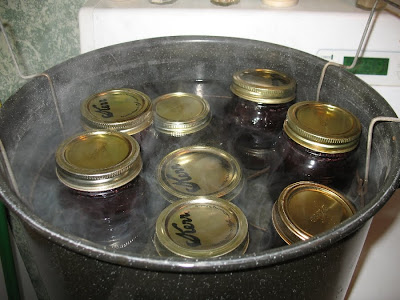
Step 8: After four minutes, remove the jam from the heat, skim any foam, and scoop it into the jars. Wipe the rims and put your hot lids on. Put the jars in the canner and process for 10 minutes. Make sure the water is 1-2 inches over the lids of the jars, add more water if you need to, then wait to start the canning time until it’s boiling.
After 10 minutes, remove the jars from the canner and put them on a rack to cool. I use the ultra cool upside down oven rack with the opposite end supported by a plate.
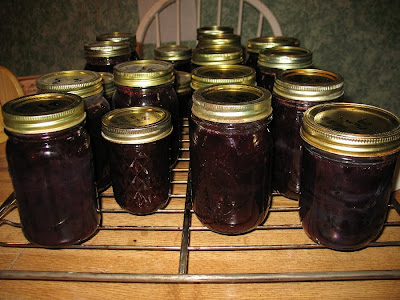
Label and put them away. Jam of any kind makes great gifts or can quickly go with a loaf of bread or rolls to a potluck or family in need–a lot of these went out at Christmas this last year. The last round I did, I didn’t have enough plums so I opened a can of crushed pineapple and used that to make up the fruit volume. That’s my standby when I don’t have enough fruit to finish a batch of jam, so we’ve had peach/pineapple, strawberry/pineapple, apricot/pineapple, and now plum/pineapple jam. They’re all good.